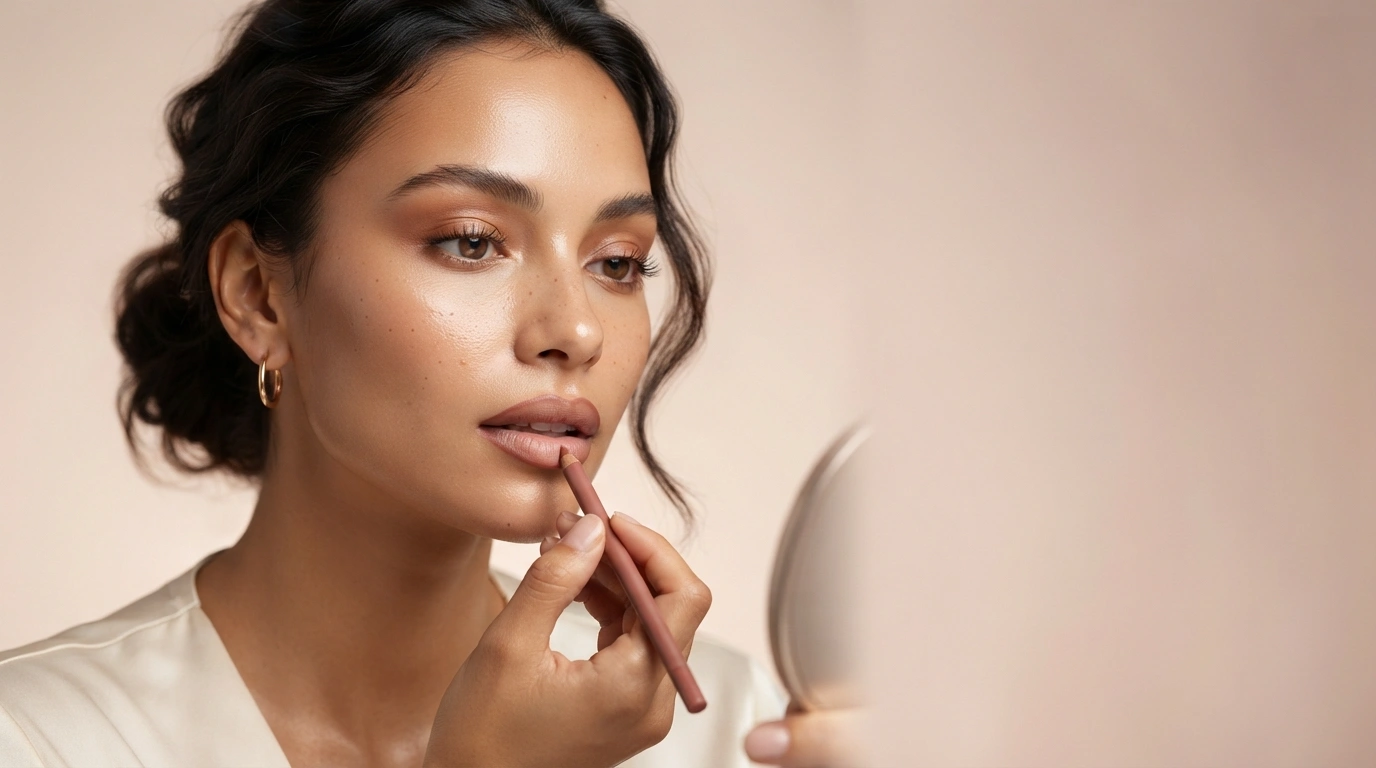
Thin lips don’t need dramatic overlining to appear fuller. In fact, drawing far beyond your natural lip shape can make the makeup look obvious instead of naturally improved. A better approach is to make small changes in specific areas, especially around the Cupid’s bow and the center of the lower lip. Then, soften everything with the right shade and finish. Makeup artists are increasingly choosing these subtle techniques to create dimension without an exaggerated result.
1. Choose a Lip Liner Close to Your Natural Lip Color
For a natural fuller-lip look find a liner that matches your natural lip color or is just a bit deeper. A very dark outline can create too much contrast, making the edge look drawn on and possibly making your lips seem smaller instead of fuller. MAC’s makeup advice also suggests staying close to your lip tone when you want a natural definition.
If you plan to wear lipstick afterward the liner doesn’t have to match it perfectly. A slightly deeper neutral liner can add some depth, especially when blended into the lipstick. Think of the liner as gently shaping your lips, not creating a whole new mouth shape.
2. Don’t Overline the Entire Lip
Keep the majority of the outline near your natural border rather than tracing several millimeters outside the entire lip. The centers of the upper and lower lips are typically the areas that gain the most from a little overlining. Bring the pencil back onto your natural lip line gradually as you approach the corners.
Why is this effective?
You want the eye to notice more fullness in the center of your lips. The transition is much more difficult to spot when the corners are left natural. It’s an easy rule to follow: don’t redraw the entire mouth; instead, improve the center.
3. Give Your Cupid’s Bow a Subtle Lift
The cupid’s bow, the little M-shaped area in the center of your top lip, is one of the best places to go for creating the illusion of added volume.
Instead of reshaping it a lot, just do some tiny changes around the two peaks with your liner. At this point you can trace just outside the natural border, then connect the line back to your real lip line as you move out.
Makeup artists have used this technique specifically to create a more full, slightly lifted look.
The key is moderation.” The effect can easily stop looking natural if you make the cupid’s bow much wider or higher. Sometimes, a little is enough for every day.
4. Concentrate Extra Definition on the Center of Your Bottom Lip
A lower lip can make a surprisingly big difference to the overall look of your mouth. For a natural-looking bottom lip, avoid overlining the bottom lip; instead, place the pencil just outside the natural border at the center. Slowly bring the line back to the real border of your lips before you reach the corners. It creates a more dimensional center, rounded, while keeping the outside of the mouth believable.
You can blend the liner softly inward instead of keeping a single hard line. This creates a subtle shadow that gives the center a more pronounced appearance. It’s not a bigger lip, it’s an illusion of depth and volume.
5. Blend the Liner Instead of Leaving a Sharp Ring
For those with naturally fuller lips a perfectly sharp outline isn’t always the most flattering. After you fill in your lips, use your fingertip, a small lip brush or the lipstick itself to soften the inner edge. Leave some of the liner showing around the perimeter and gradually fade it toward the center.
This trick is particularly useful if your liner is a little darker than your lipstick. Plus recent beauty trends have also moved away from super sharp lip lines and toward softer, blurred lip definitions. More recently, Vogue has covered lip contouring, highlighting the use of blendable colours, soft shadows and luminous finishes to create dimension without harsh lines.
6. Put Something Shiny in the Center
Once you’ve got the shape you can give the lips even more dimension by changing the finish. Apply lipstick, tinted balm or gloss to lips and then add a little shine right in the center of the upper and lower lip. The light naturally reflects off that area, drawing the eye to the center and making it appear more rounded.
This is also in line with the current trend of layered lip routines, where liner is paired with balms, oils and glosses, rather than one heavy product.
For a daytime look, opt for a neutral liner with a tinted balm. For a more polished evening look, add a touch of clear or sheer gloss to the center.
7. Prep Your Lips Before You Pick Up the Pencil
Start with a smooth surface and If your lips feel rough, gently remove loose flakes without aggressively scrubbing them. Follow with a thin layer of moisturizing lip balm and give it a moment to settle. Before applying liner, blot away excess product so the pencil doesn’t slide around.
The goal isn’t to make your lips extremely slippery. You want them comfortable and smooth, but still dry enough for the liner to grip. This small preparation step can make the outline look cleaner and prevent the pencil from catching on dry patches. And there’s another advantage: smoother lips allow your lipstick, balm, or gloss to sit more evenly, which makes the entire fuller-lip illusion look more polished.
The Biggest Mistake to Avoid
The most convincing results come from tiny changes in specific places. Keep the corners close to their natural position, give the Cupid’s bow and lower-lip center a little extra attention and then blend the edges so the makeup becomes part of the overall lip rather than looking like an outline drawn around it.
The difference may seem small when you’re applying it but once you add color and a touch of shine to the center, those small adjustments can make thin lips appear noticeably more defined and fuller without looking obviously overlined.